Introduction
If you want to run the Aria2 download manager as a persistent background service on your Mac with Apple Silicon (M1, M2, M3), this guide is for you. We will show you how to set up Aria2 with Homebrew services, allowing you to easily start, stop, and manage it as a system-level process. This is the ideal solution for users who need a powerful download manager that runs continuously on their Mac.
Step 1: Install Homebrew and Aria2
First, ensure you have both Homebrew and Aria2 installed on your system. If they are not already installed, follow these steps.
Install Homebrew
Homebrew is the package manager we will use to install and manage Aria2.
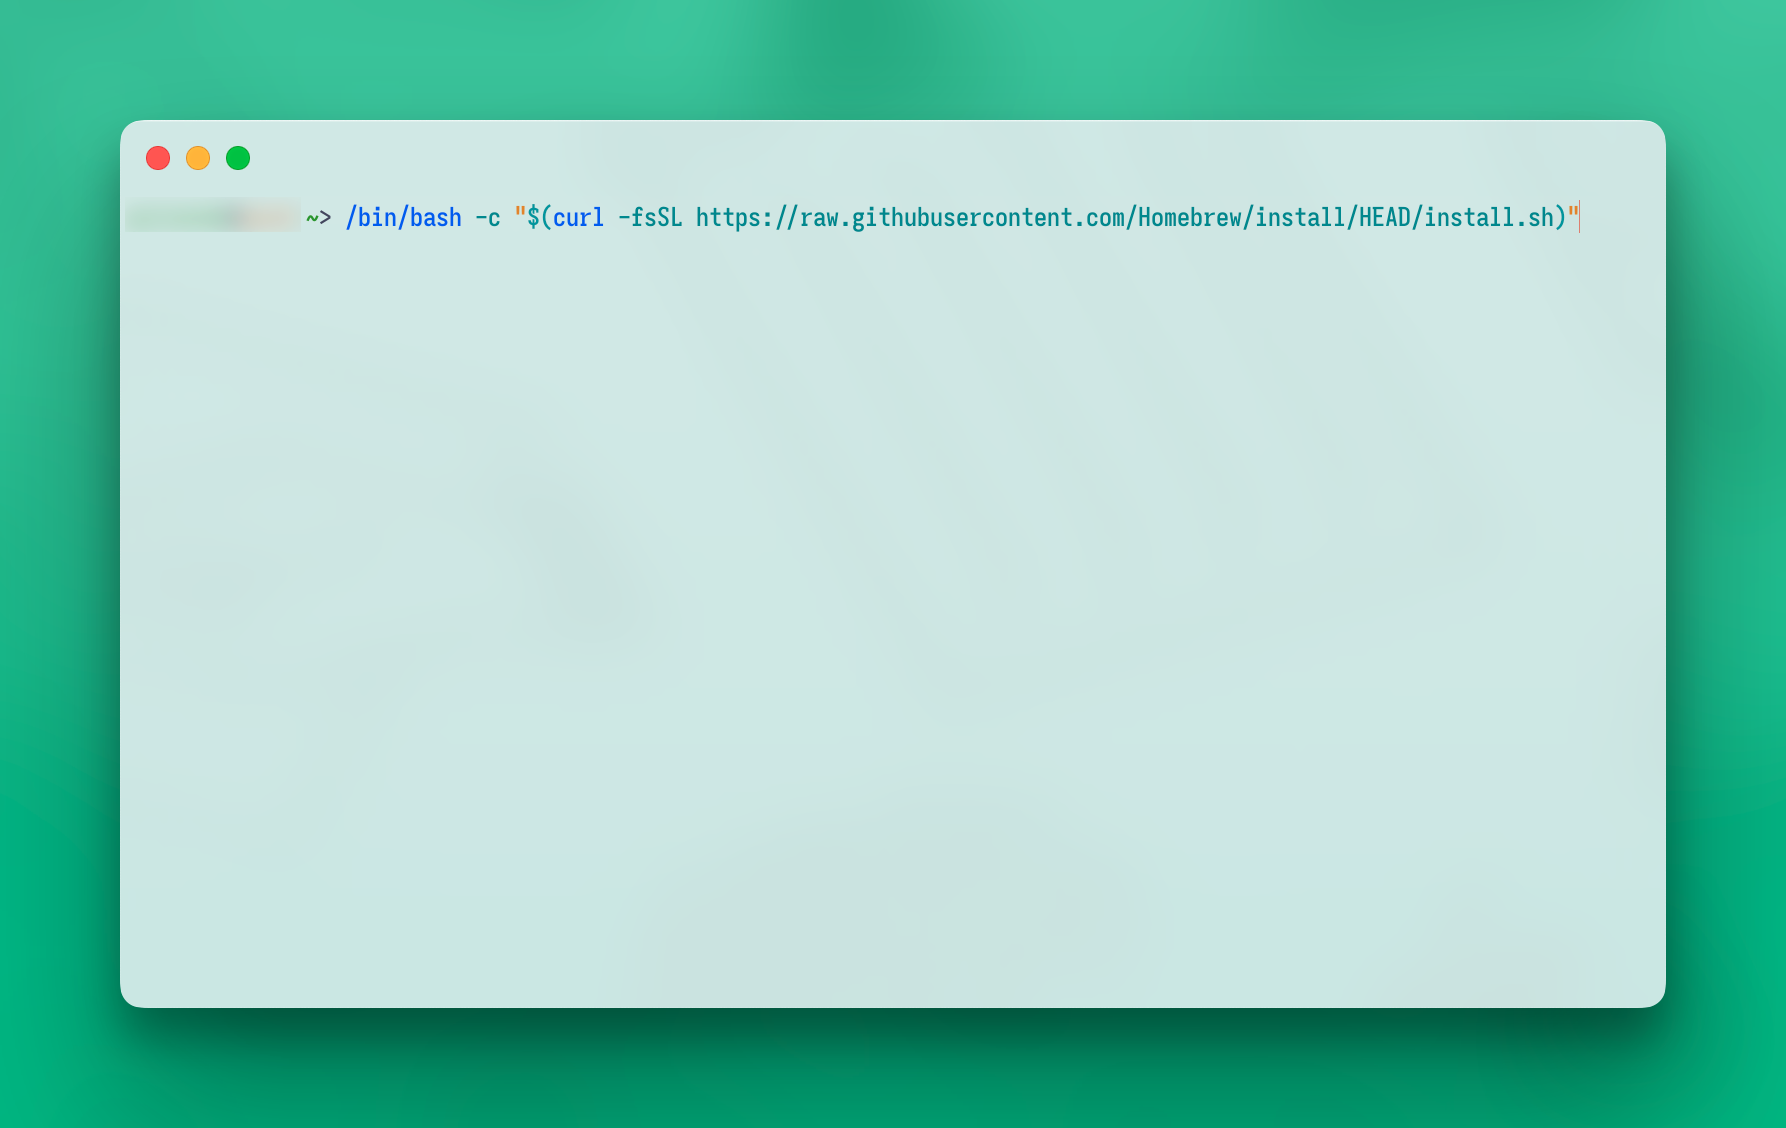
- Visit https://brew.sh/
- Copy the installation command from the site and run it in Terminal.
| |
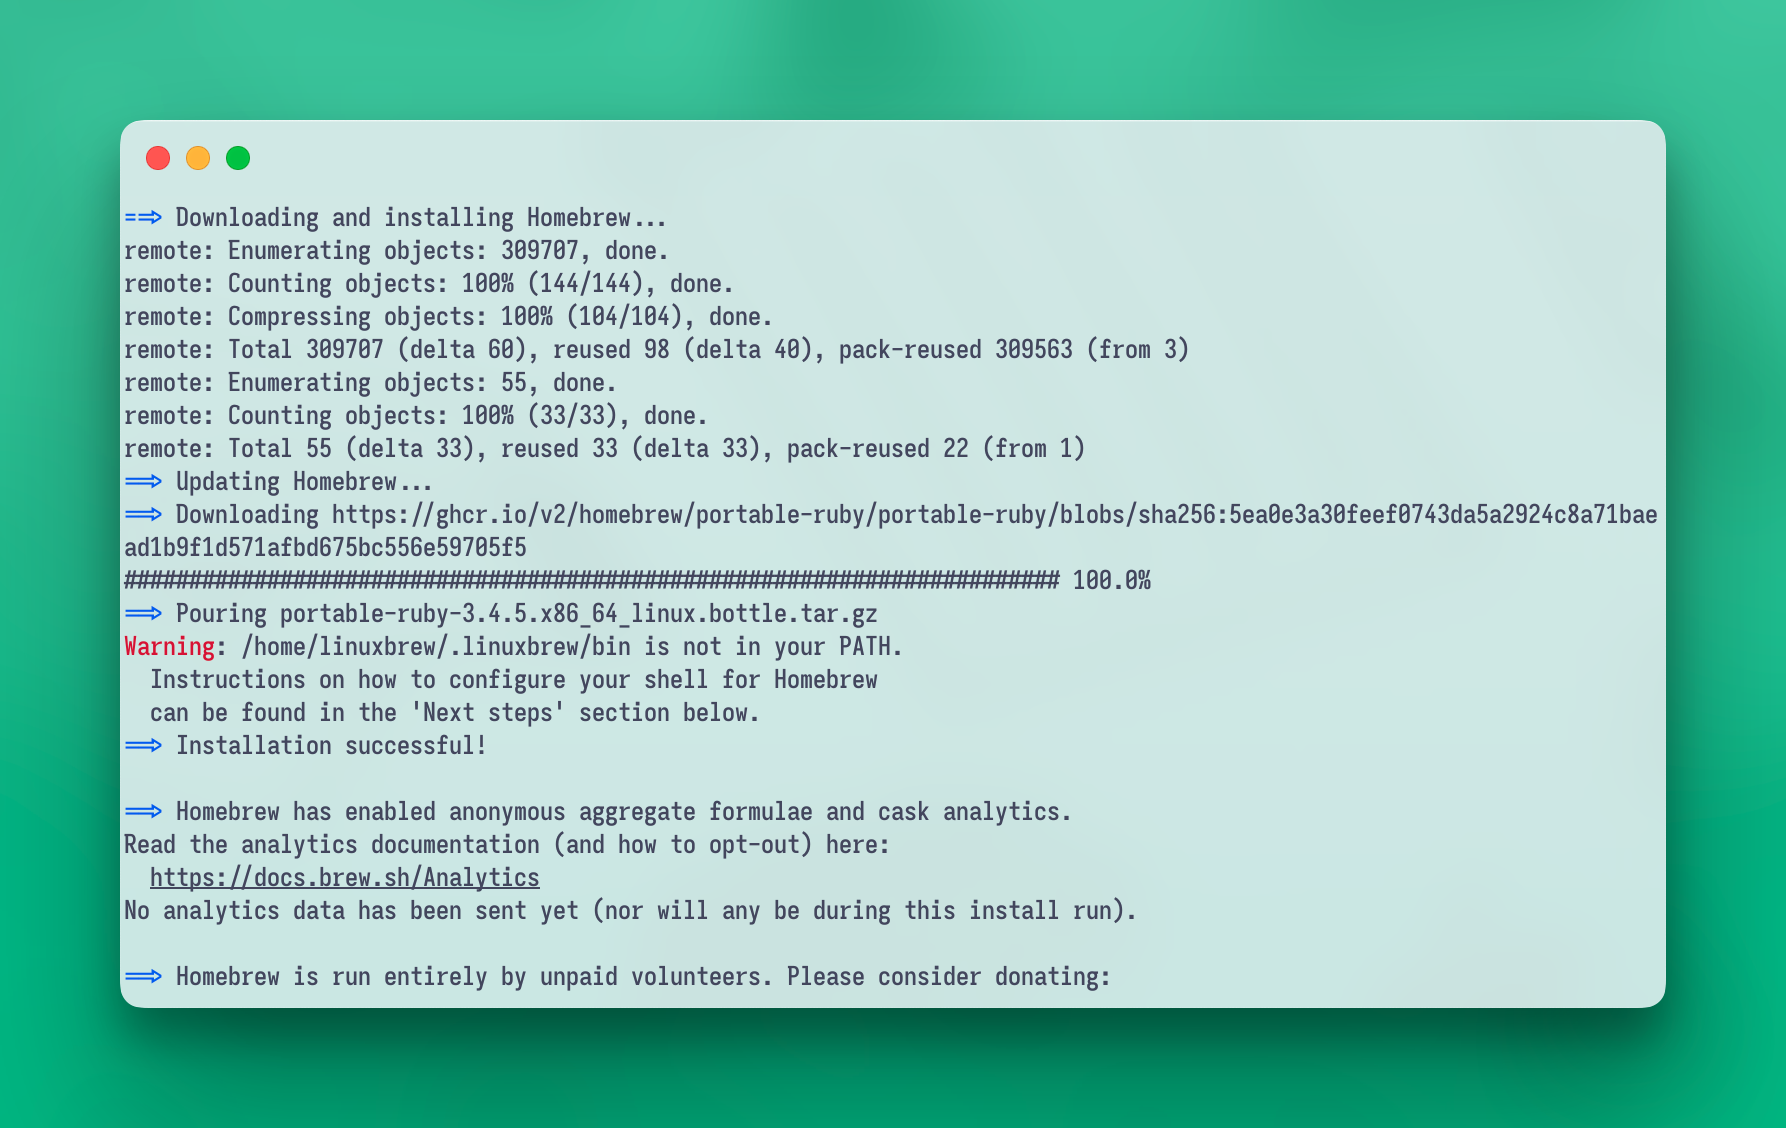
- Once the installation is complete, verify it by running:
| |

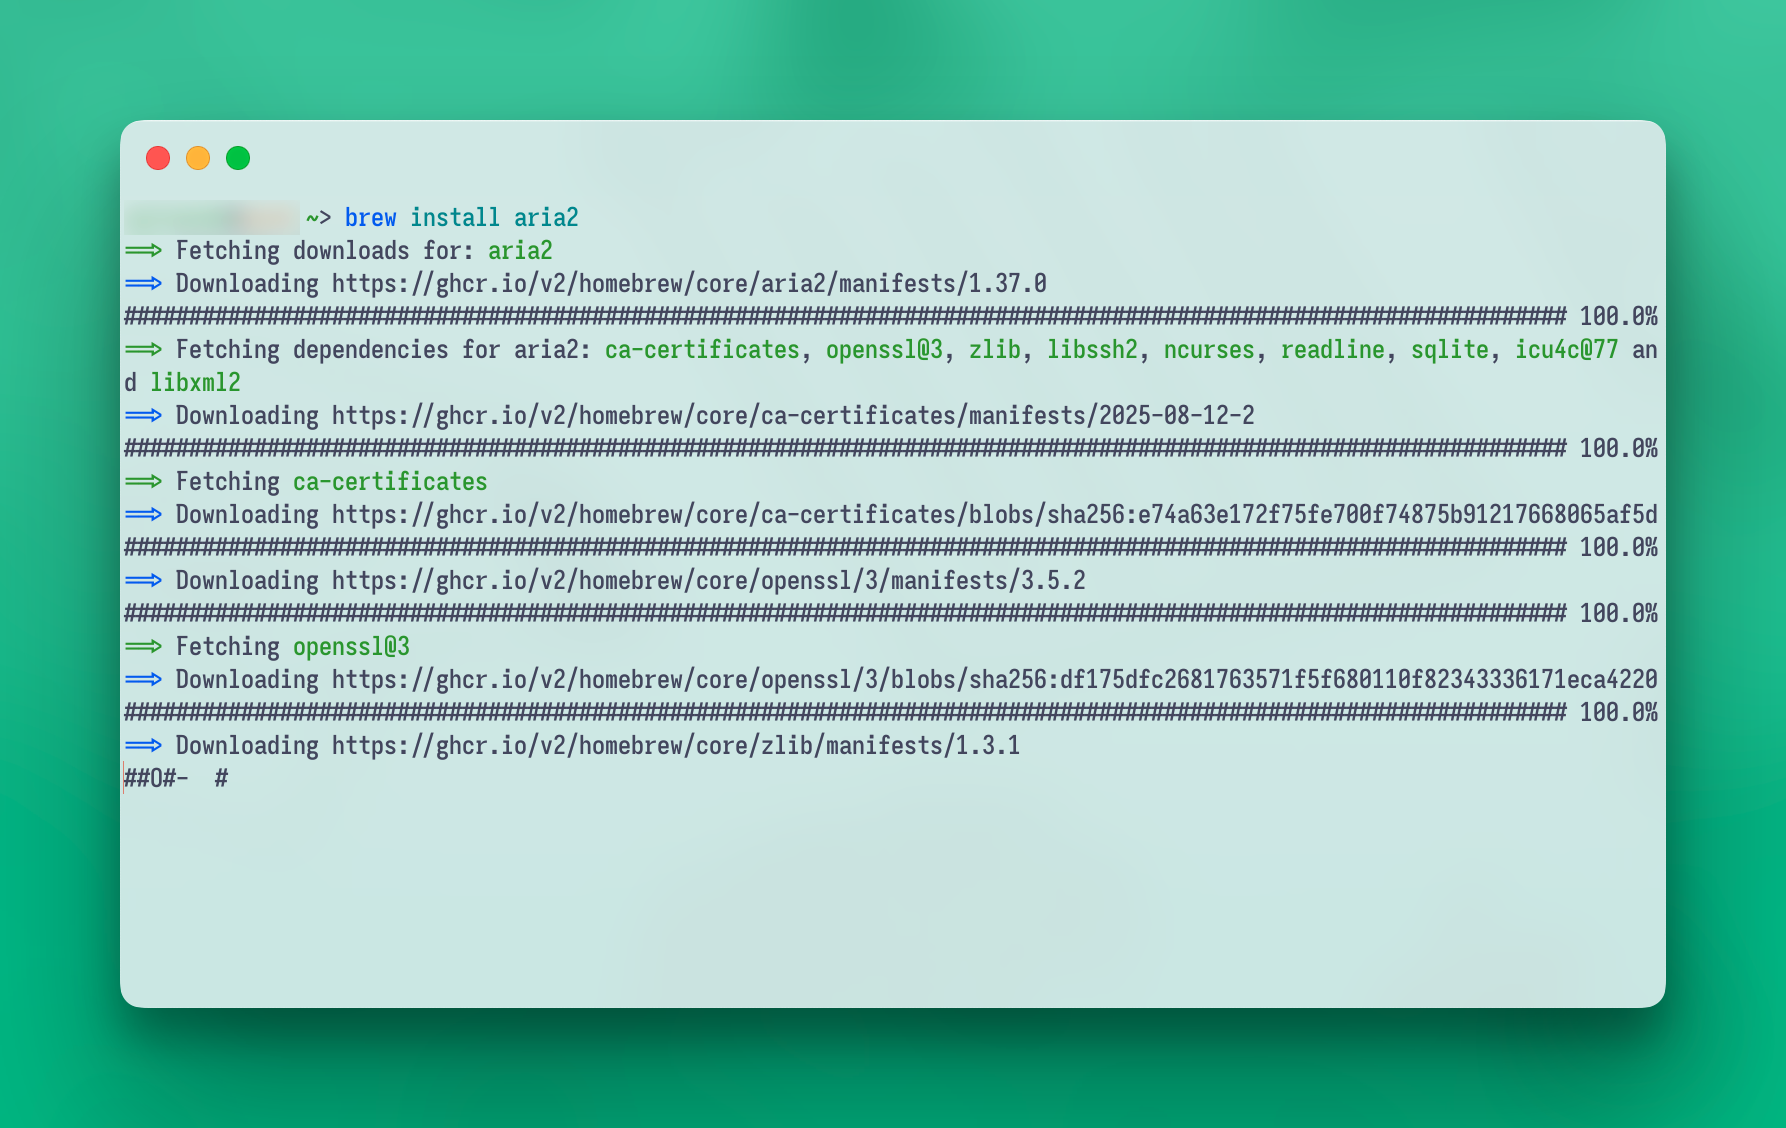
Install Aria2
Aria2 is a powerful, multi-source download utility that supports HTTP, HTTPS, FTP, BitTorrent, and Metalink. Install it from Homebrew with this simple command:
| |

Step 2: Create the Aria2 Service File
To run Aria2 as a background service on macOS, you need to create a service configuration file named homebrew.mxcl.aria2.plist. This file allows you to control Aria2 using the brew services command.
- Open terminal press
⌘+Space, type Terminal, and hit Enter - Navigate to the Aria2 installation directory. The version number will vary, so replace 1.37.0 with your installed version.
| |
- Create the service file use a text editor like
nano,vimornvimto create and edit thehomebrew.mxcl.aria2.plistfile: - Paste the following content into the file. Remember to update two key values:
| |
Replace REPLACE_WITH_YOUR_SECRET_KEY with a strong, secure secret key.
Update the Downloads path to your desired working directory (e.g., /Users/YOUR_USERNAME/Downloads/).
- Save and close the file. In nano, you can do this by pressing
Ctrl+X, thenY, and thenEnter.
Better to use aria2.daemon config, example config:
Example Config Aria2
| |
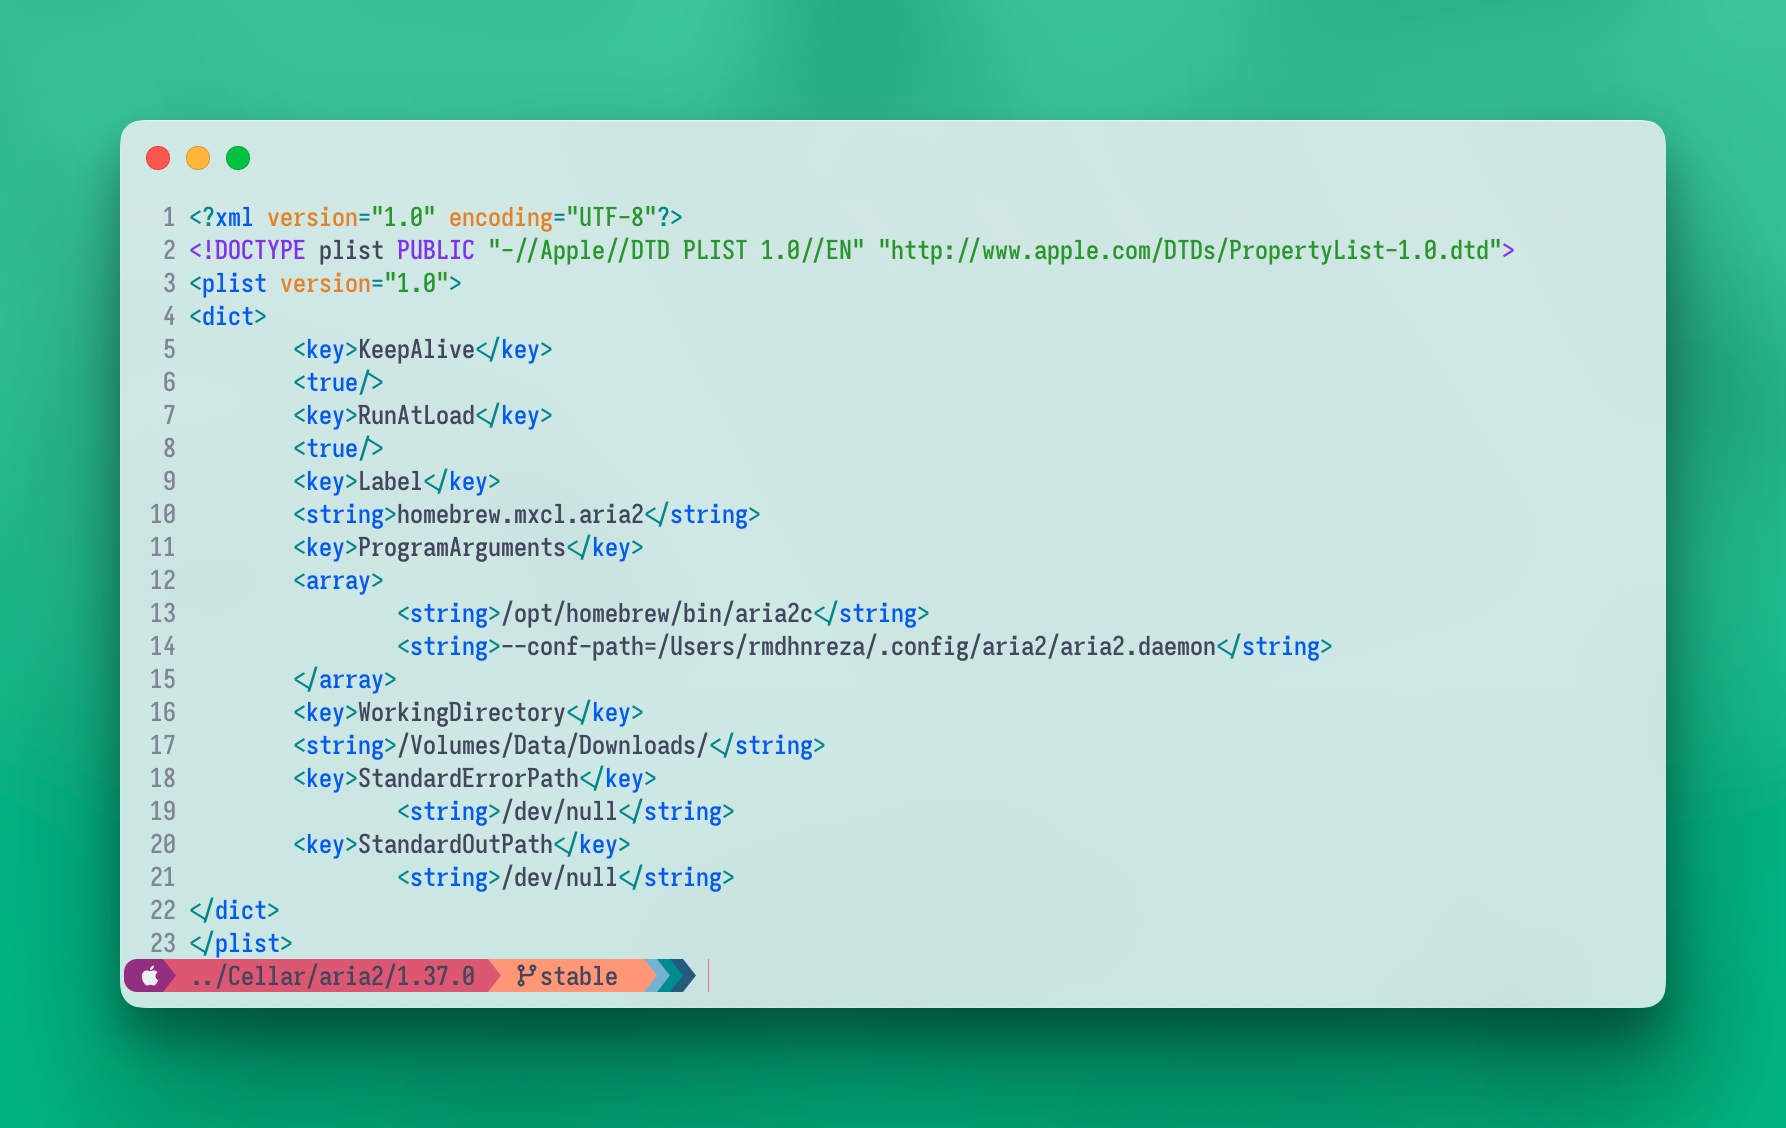
And make this config like this in homebrew.mxcl.aria2.plist
| |
Step 3: Manage the Aria2 Service
With the service file created, you can now start, stop, and check the status of Aria2 using Homebrew services.
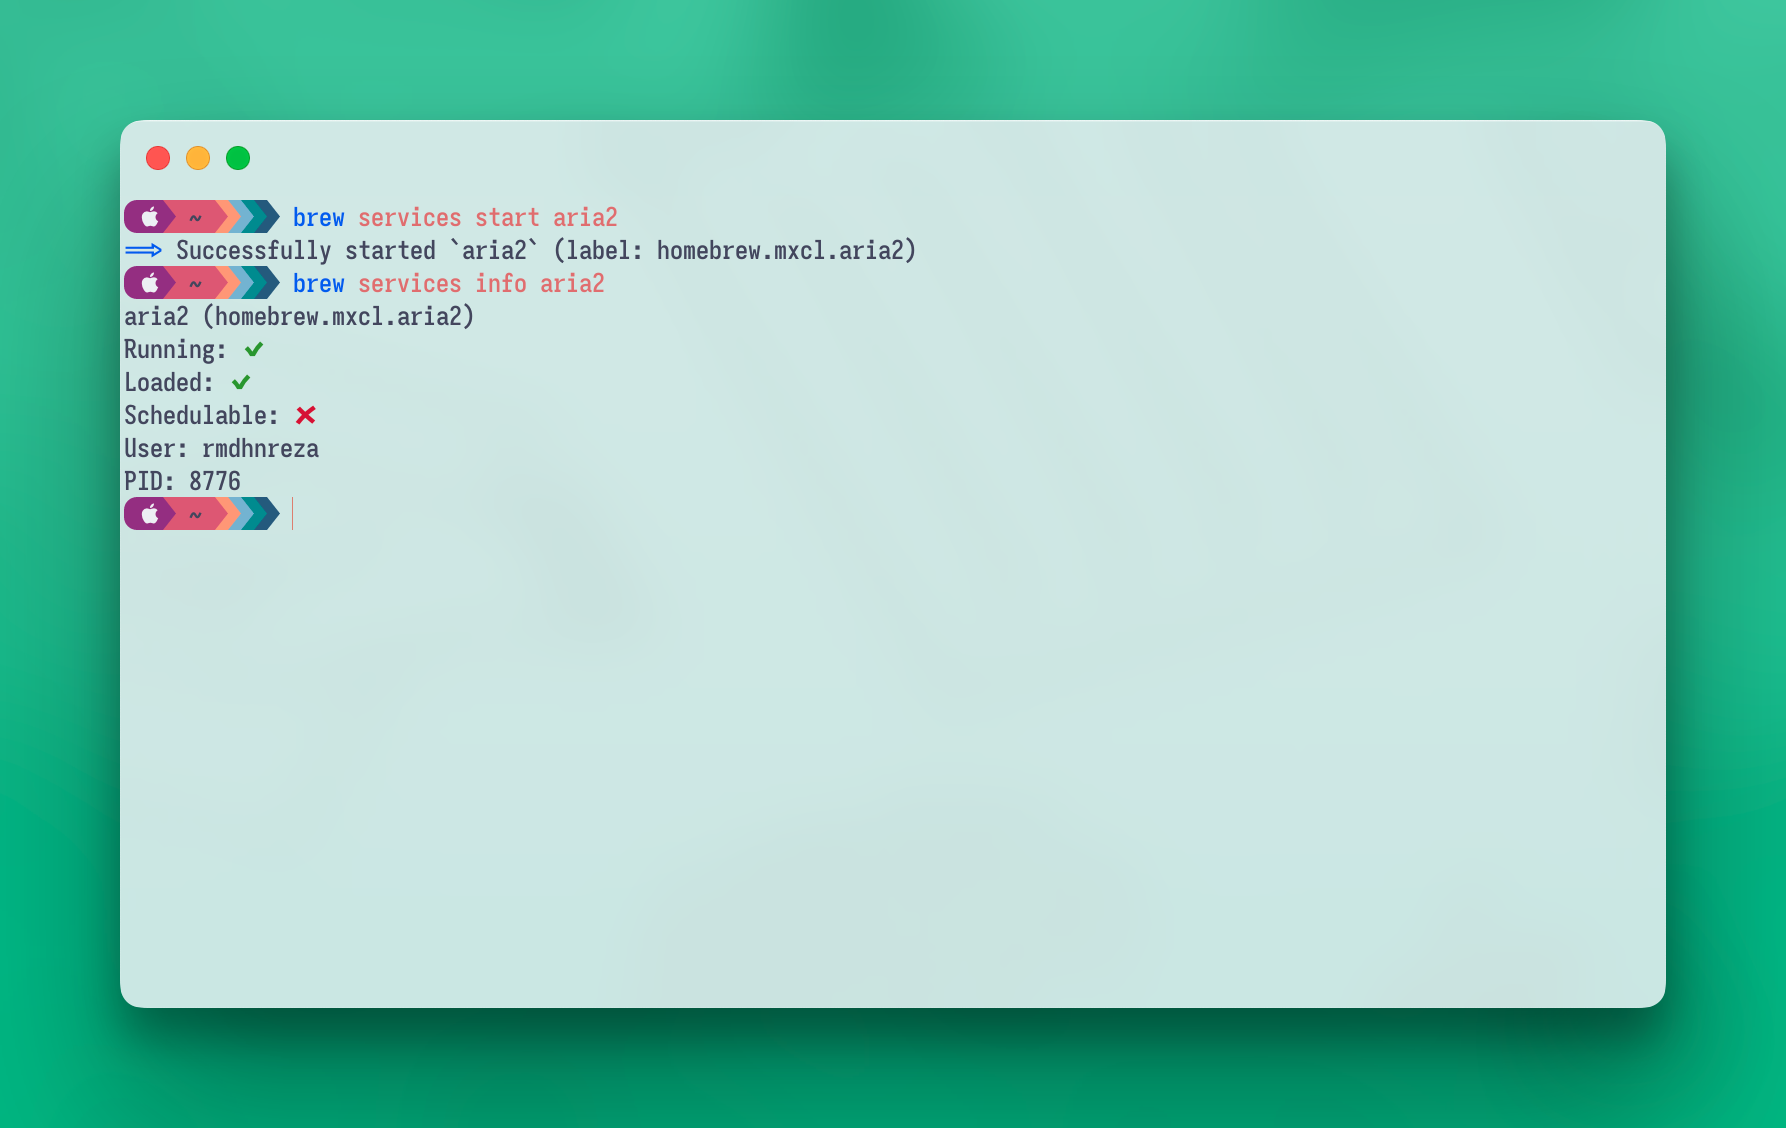
- To start the Aria2 as a service, run:
| |
- To stop theAria2 as a service, run:
| |
- To check the status of the Aria2 service:
| |
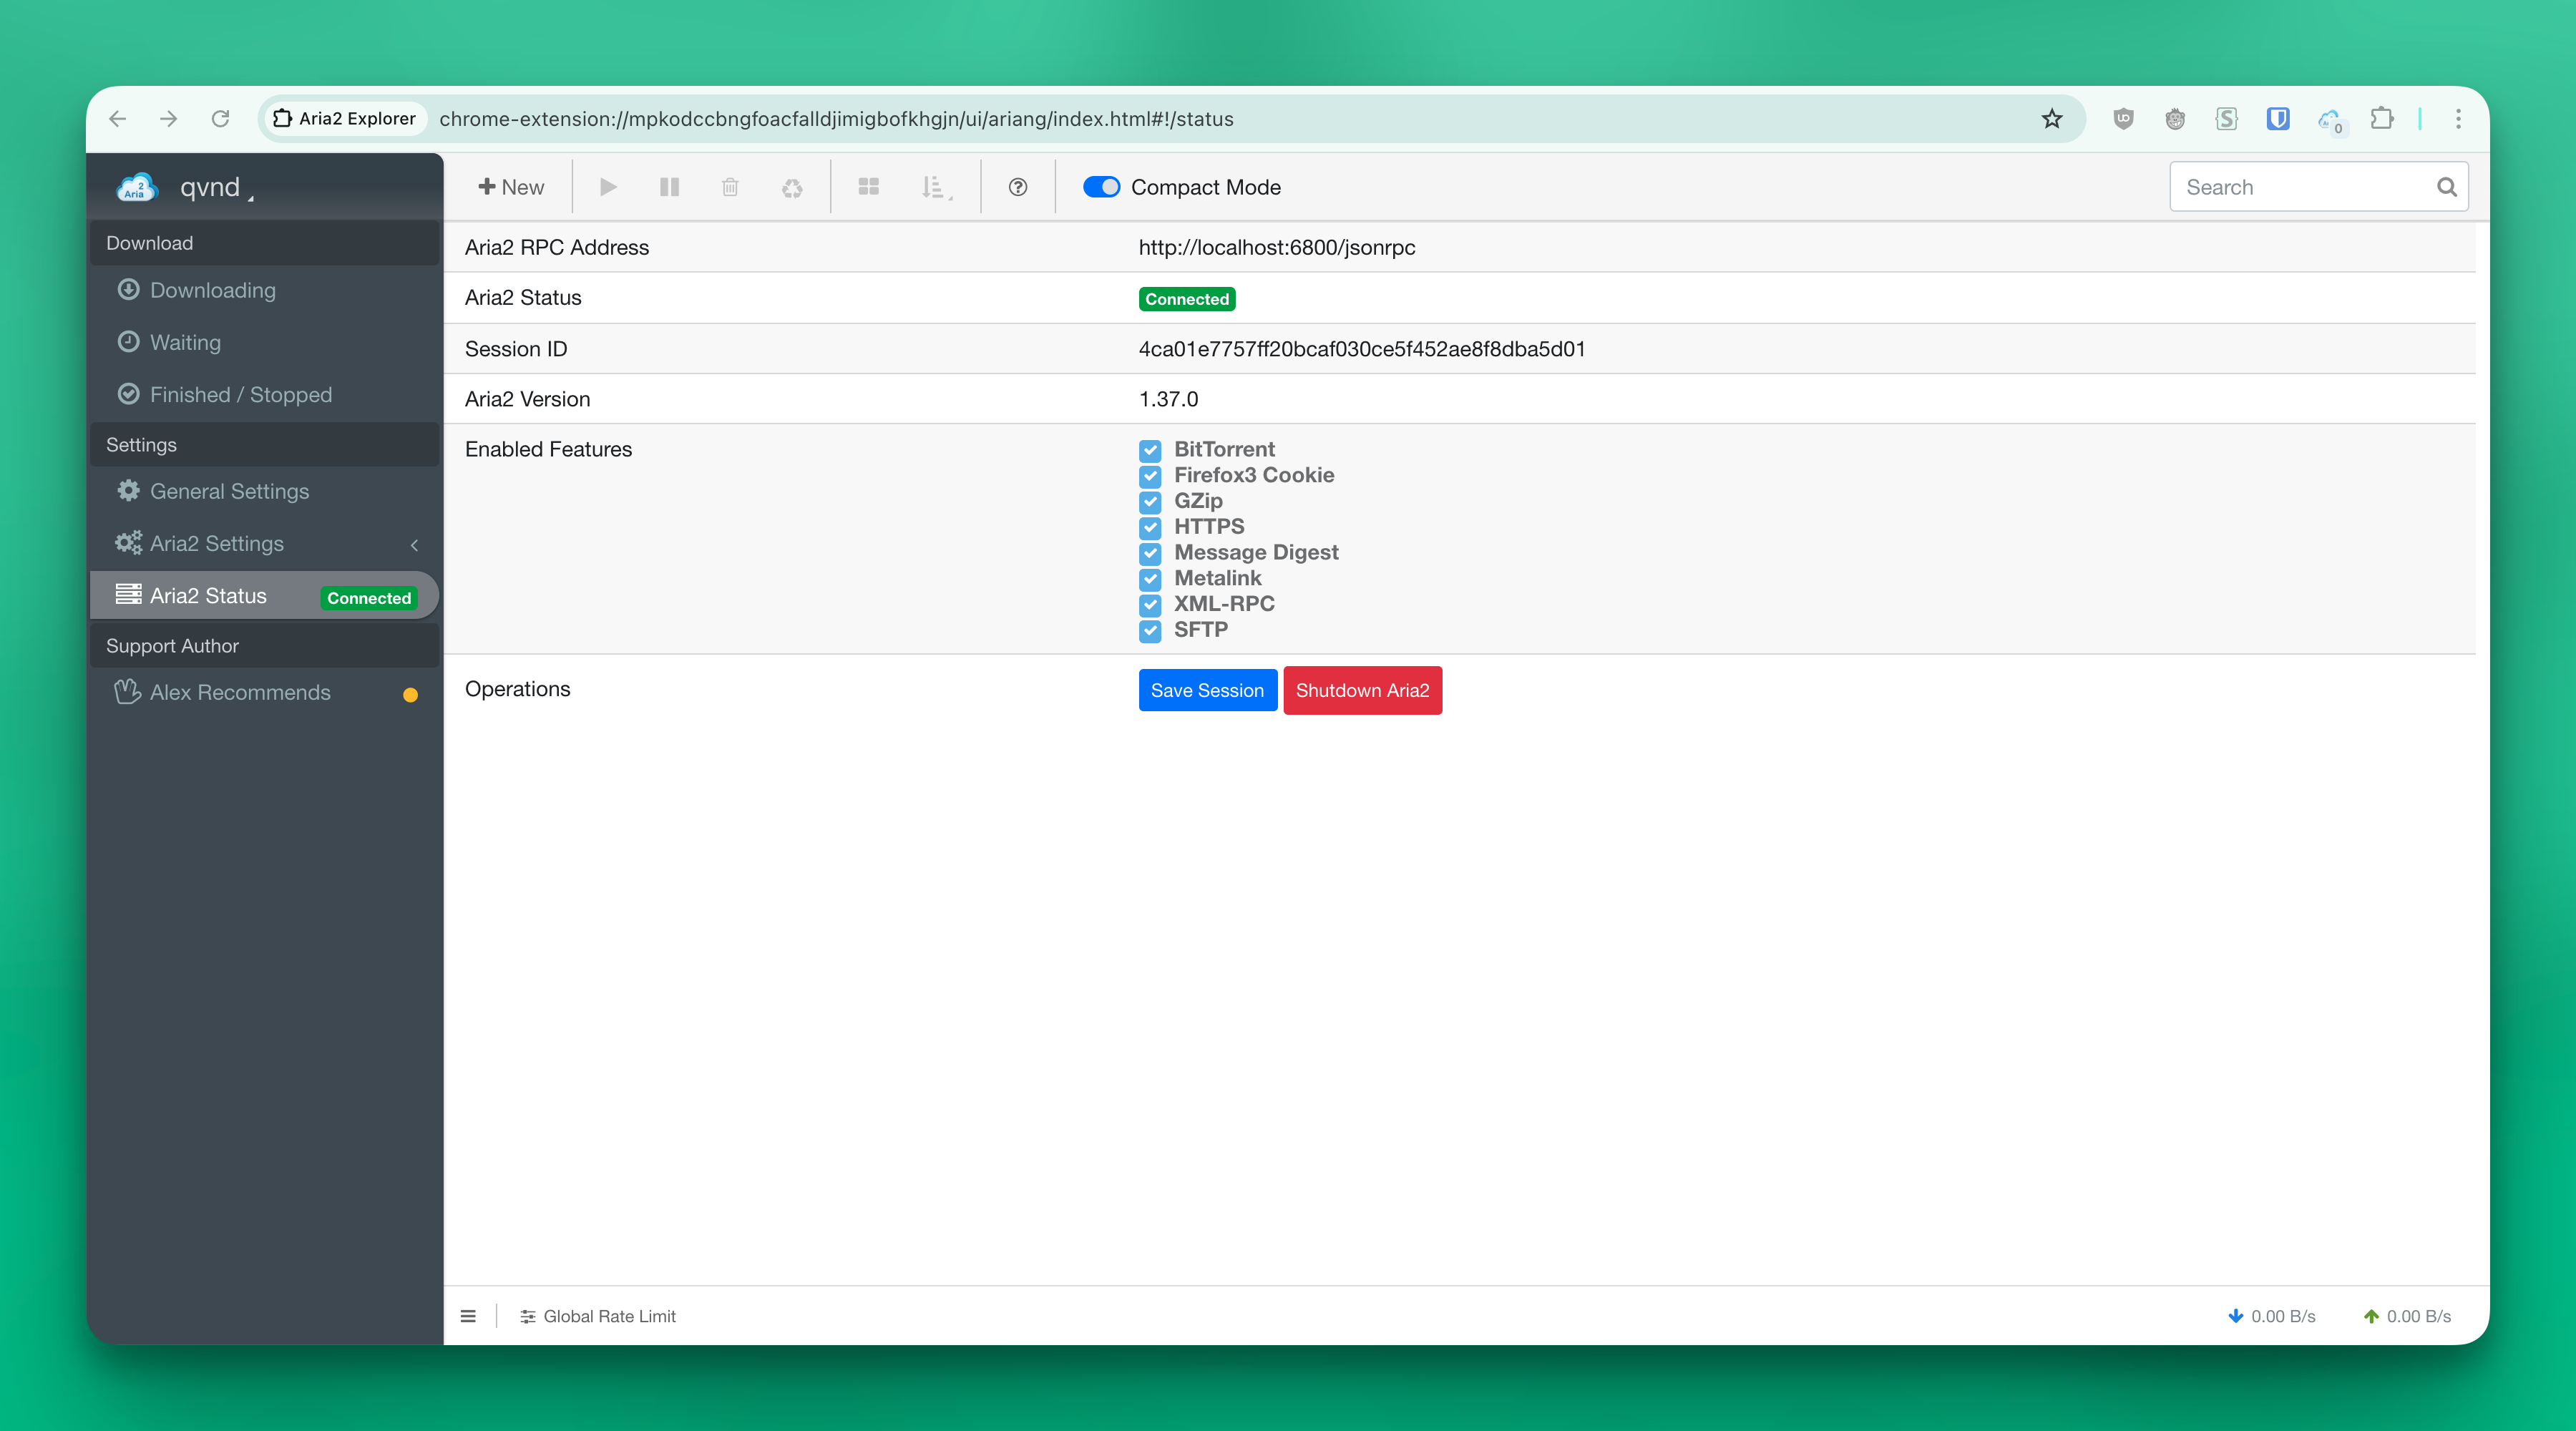
Optional: Configure Third-Party Apps
To manage downloads and capture links from your browser, you can use third-party extensions. The following are excellent choices for integrating with your new Aria2 service:
- Aria2 Explorer for Chrome
- Aria2 Integration for Firefox
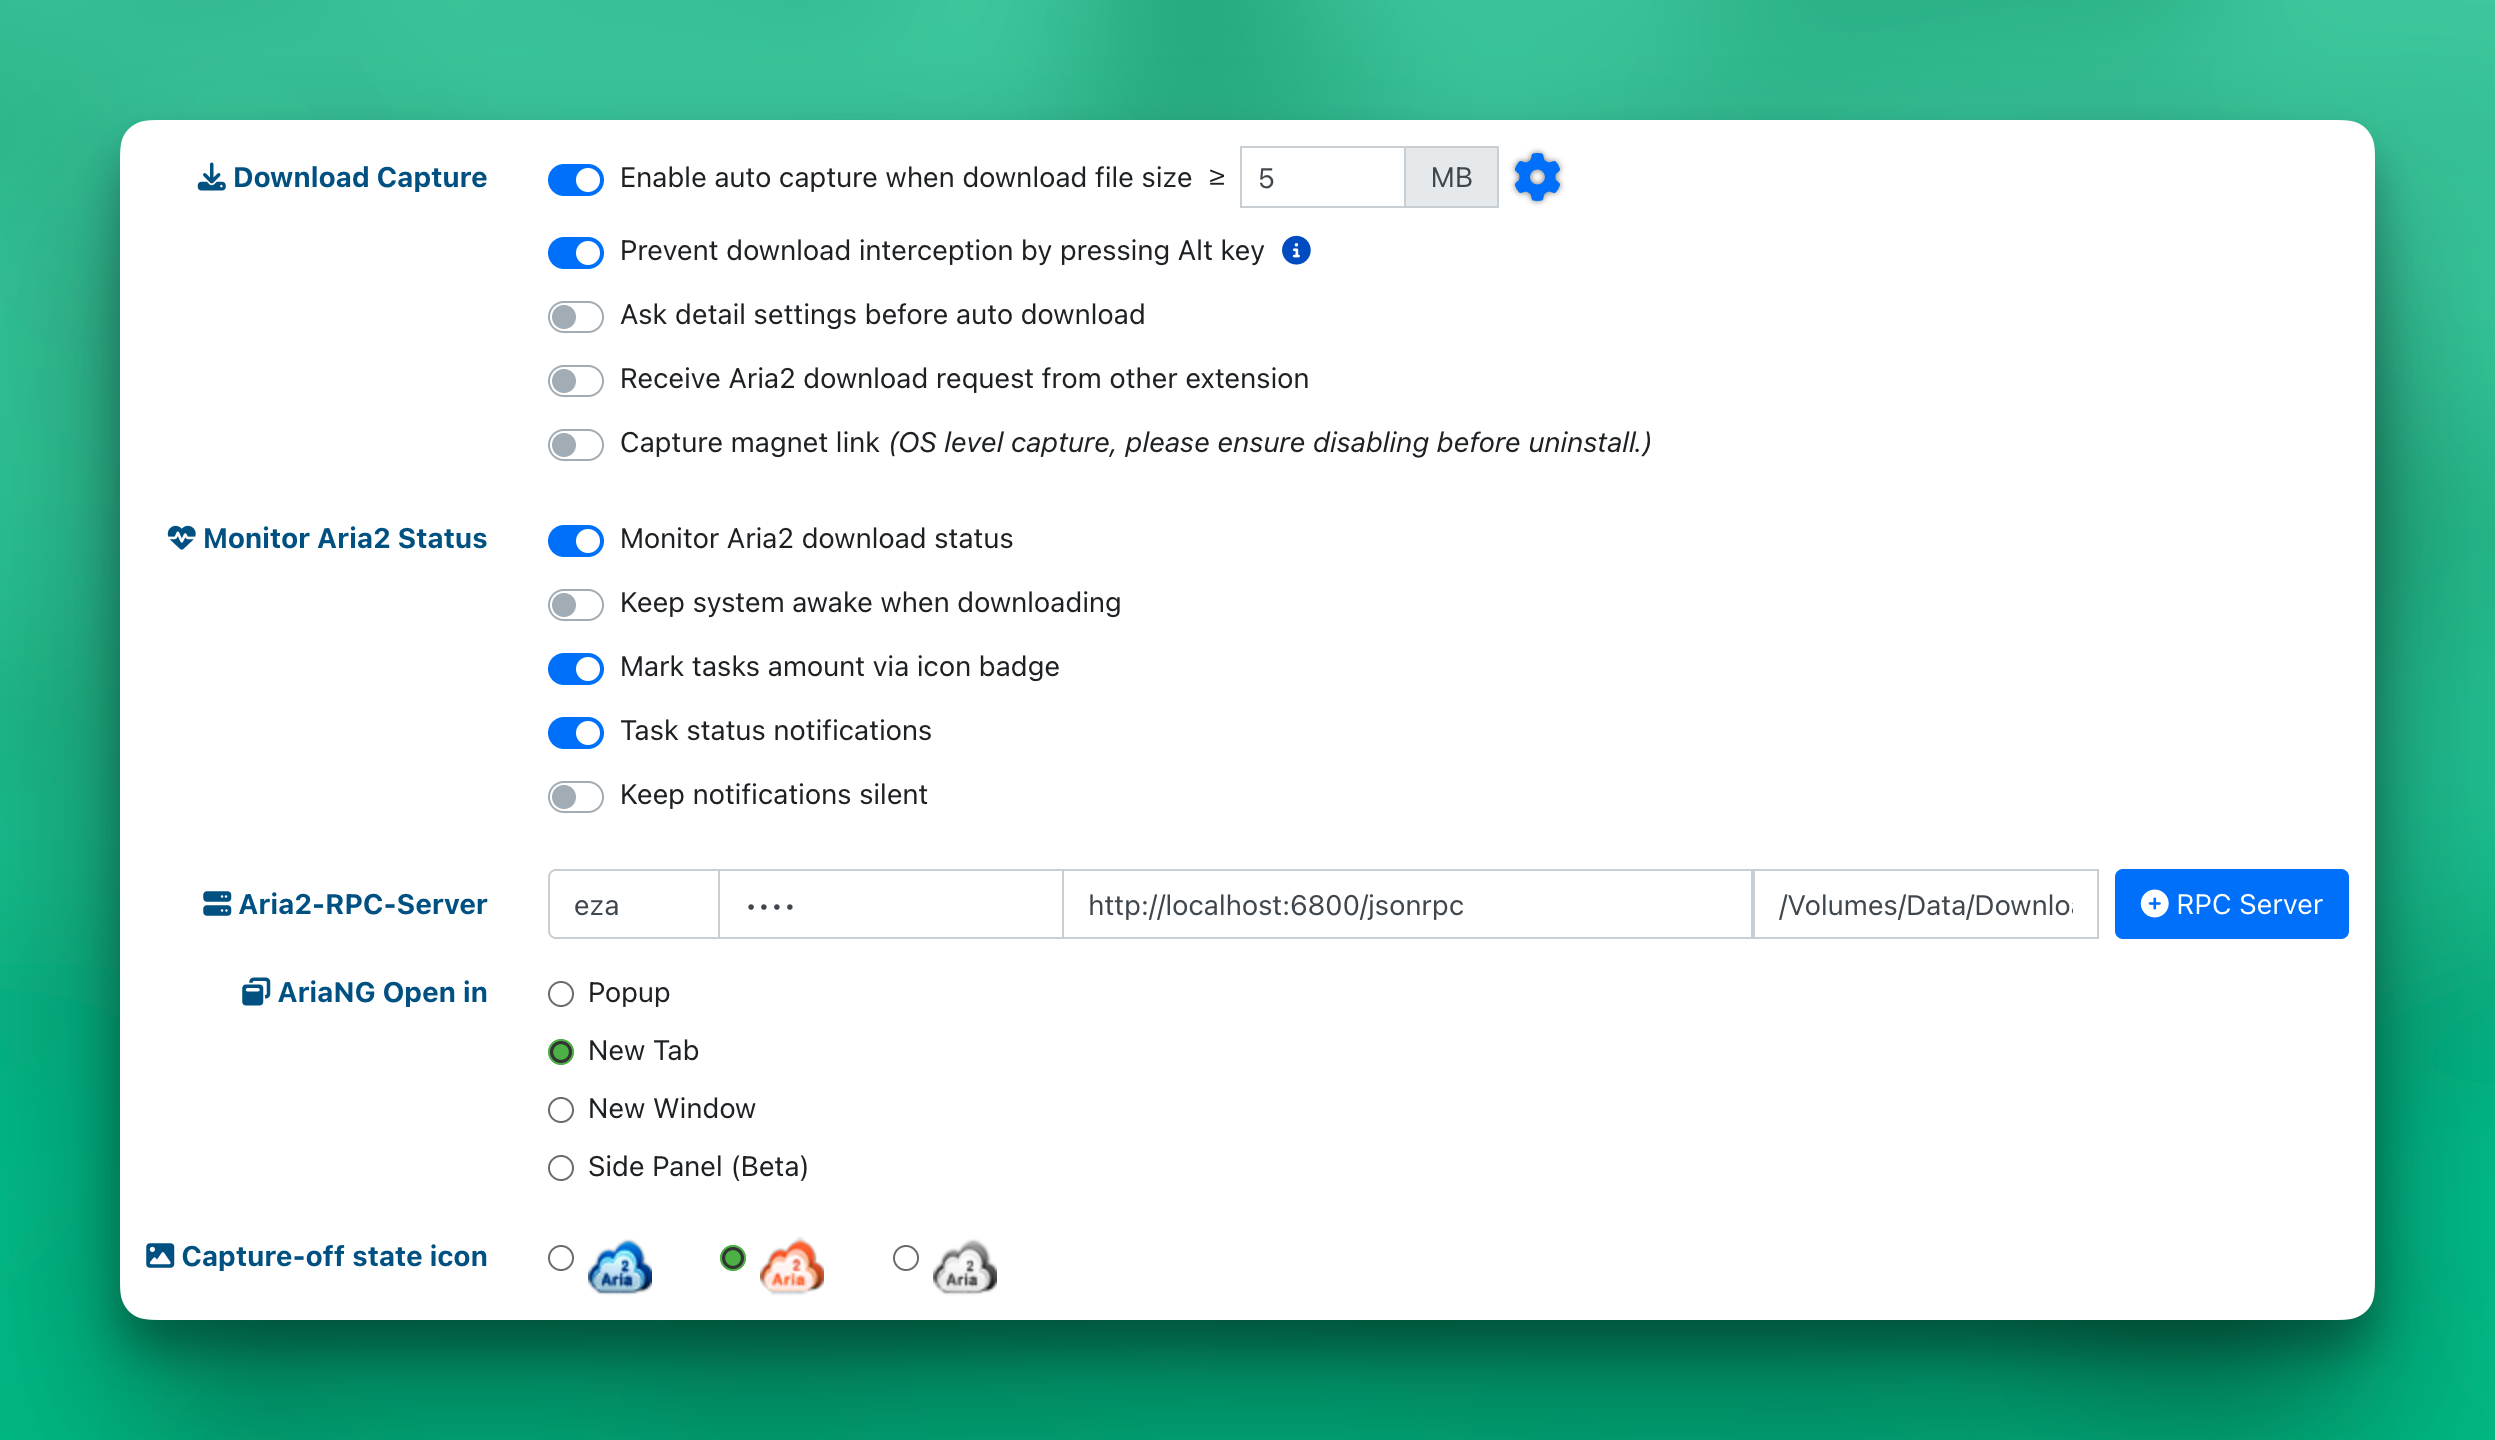
When configuring these extensions, use the following settings:
- Name: Give a descriptive name for the RPC server.
- Secret: Enter the
rpc-secretyou defined in your.plistfile. - Host:
http://localhost:6800/jsonrpc - Download Location:
/Users/YOUR_USERNAME/Downloads/
Conclusion
By following these steps, you have successfully set up Aria2 to run as a reliable background service on your Apple Silicon Mac using Homebrew. This makes managing your downloads more efficient and ensures Aria2 is always ready to handle new tasks.